

Stories That Give
knife his personality
Scandinavian Spirit

Adventure, relaxation and life in the present moment: it is life outside in what it has best. A good trip in nature will always look like the person who is going to go. One puukko is an integral part of this beautiful experience.
The knives are very useful for cooking or tinkering, but they are also dangerous.
In this article, we will see how best to use the tools to sculpt a wooden spoon. Then we will discuss some tips for using to handle your puukkos safely. Finally, I gathered the videos of a real, very endearing artist who will show us the best shots to work the wood efficiently.
Good reading!

There is one area in which the puukko Excellent, it's wood carving!
The sculpture of wooden spoons.
Thanks to its handle which offers an excellent grip and blade in carbon with a razor edge, the puukko is comfortable in wood carving.


Working wood with its puukko
I love using my puukkos to make wooden spoons. It's an extraordinary hobby, because it forces to be extremely focused. A very good way to clear the head of everyday hassles. Of course, for this work, there is no question of using works of art like the puukkos of Bertil Fällman For example. They are far too beautiful and not really suitable for wood carving.
For this task, Mora knives are kings!

Mora knife
The knives have been made in the Mora area since the 17th century. The foundations of today's factory were laid in 1891 and have since propelled our local know-how around the world. Our cutlery are still making knives by hand, as at the time.
The right tools to work wood
The very principle of bushcraft is to work the wood found in the natural state in order to design useful objects of everyday life. Wooden dishes (cup kuksa, spoon, plate...) in bivouac furniture, you will need to have a minimum of tools dedicated to woodworking. Making yourself a wooden spoon or a Viking-style kuksa cup will be a great pleasure with good tools. A quick and non-exhaustive list:
- A hatchet to trim the shape
- Several sculpture knives
- A rock for digging bowls and spoons
- Glass paper for final sanding
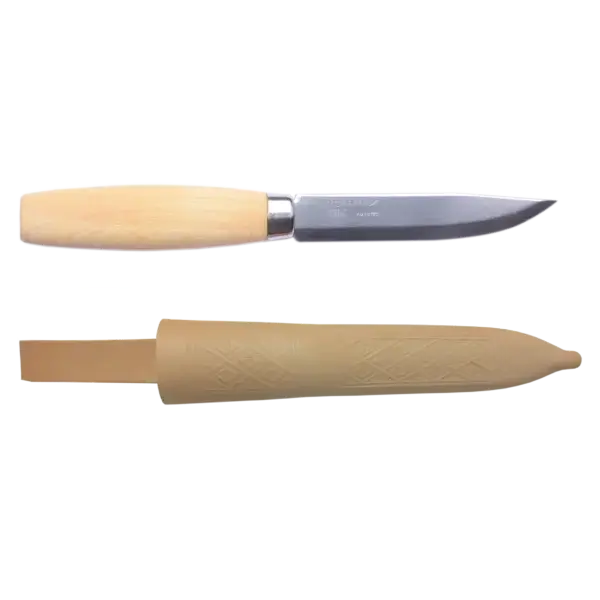
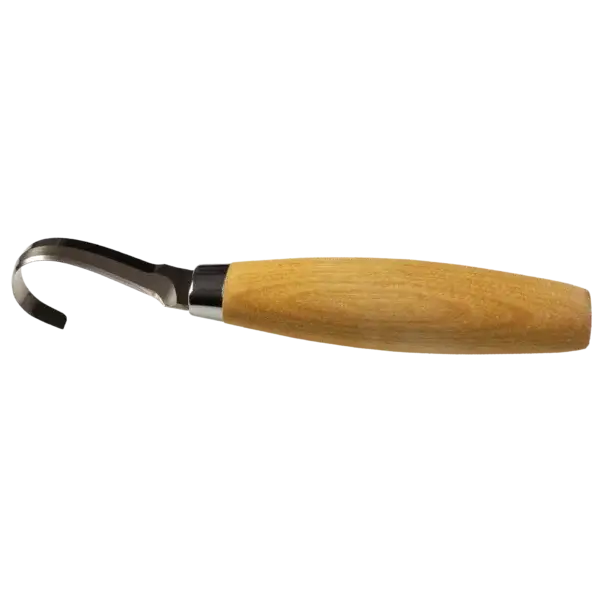
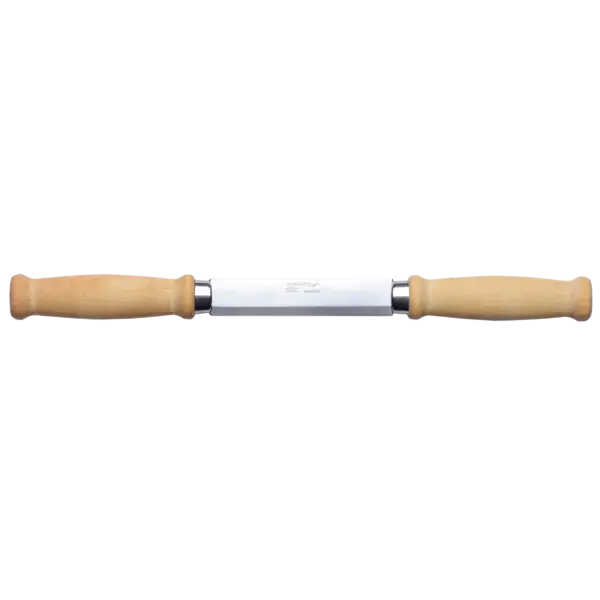
Sculpt a wooden spoon in 9 steps
Think of the spoon as a beautiful artistic and artisanal object!

Working wood is accessible, creative and does not require sophisticated workshop or equipment. All you need is a piece of wood and a sharp object to sculpt it.

1
Good. choose wood
That's what matters most. You will be embarrassed with choice, but I recommend using soft wood, such as willow, lime or birch. Easier to sculpt, these wood species will make the work easier.
2
Split and prepare
To split the piece of wood well in the middle, plant the axe in the wood, lift the axe with the piece of wood and hit the work surface. Once the wood has split, remove the dark part in the centre. With the axe, remove wood until the dark line in the centre has disappeared.
3
Clean
Now remove the bark and clean the wood. For this, take the axe again. Start at the center and go down. By tilting the axe a little outwards, the bark becomes more easily detached. You now have the basic material for your spoon!
4
Draw the shape of the spoon
Using a pencil, draw a circle at one end of the piece of wood, leaving about a centimeter all around. Think about expanding the handle near the circles.
5
Digging
Now you have to give the piece of wood the typical shape of a spoon. Enter the spoon at the handle and dig with a crochet knife. Sciss the wood very slowly by plucking regularly with the fingers, until about half a centimeter of wood remains at the bottom of the hollow.
6
Paint
This will take several hours, but it is crucial. This is where your creation will really take shape. Take the sculpting knife and slowly remove small thicknesses of wood by pressing with your thumb to lever. Make sure to get a handle perfectly straight and smooth.
7
Dry spoon
Now you have to dry the spoon to make its sanding easier. Place it in a zippered plastic bag with small chips of dry wood and leave the bag open at room temperature so that moisture can escape. The spoon will take 3 to 5 days to dry naturally.
8
Sanding
Sand the wood until the hollow and the handle be perfectly smooth. Do not put pressure on soft wood. Use glass paper from 80 to 320 for example. It's the finish, take all your time.
9
Oil
Finally, add a little oil to the spoon. The oil not only gives a shiny appearance, it also protects the wood and brings out its grain and texture. It is possible to use any food-grade oil, e.g. flax oil, nut oil or pure tung oil. Avoid olive oil, as it becomes sticky and attracts dirt.
What wood for spoon carving?

All wood sculpt, but from a certain density it is preferable to use more powerful electrical tools rather than manual tools. So I'm going to stay on soft, easy-to-work woods. Some of the most popular are:
Tilleul:
White wood, very soft with an ideal grain for sculpture. It is recommended that beginners than experienced sculptors. It renders well the shapes that are sculpted there, because its whiteness makes the contrasts (clear/dark). Since it is the most convenient to sculpt and does not have a very pronounced grain, it is one of the ideal woods to use for a project that one wants to paint. This wood is also ideal for small sculptures and faces in which one does not want the grain to come visually harmful to the shape of the wood. « groover » slight facial features. If it is treated with oil, it will reveal a beautiful grain sober, yellow beige and sometimes marbled with brown.
Ash walnut:
Light brown wood, very soft, but a little more « brittle » the linden. Its grain is extremely pronounced and looks a bit like oak. Ideal for all projects where one wants to leave the grain of wood visible.
Mahogany:
The mahogany, African or Brazilian, is also a wood that sculpts very well, although it is a little denser than the previous woods. It has an orange brown color and has the peculiarity of having different reflections according to the angle with which one looks. In other words, it is a very rich wood at the grain level, just pronounced enough to give a nice effect, but not too much to harm the overall aesthetic as tender walnut can sometimes do.
Pin:
The pine, a relatively soft resinous, is also used for sculpture for its yellowish complexion and sometimes very pronounced grain. However, it has the lack of « brittle » and have very hard and difficult to sculpt nodes. However, it may be ideal for beginners because it is accessible and cheap. Another interesting point, compared to lime and ash walnut, pine is the one that will best resist rot, so for an outdoor sculpture at good price, it is a very good choice. Pine sculptures where one would apply a natural finish, such as Danish oil or bee wax, will make beautiful pieces and give a small rustic side to your work.
Beech:
The first advantage of beech wood is aesthetics. Indeed, the presence of rib lines on the surface makes it very elegant. It is also easy to work. This wood is solid and heavy with a straight grain, tight and uniform texture. The colour of beech wood is clear, creamy and naturally shiny.
The Brusletto Nansen above, is a copy of the knife that Norwegian adventurer Fridtjof Nansen received natives from Greenland in 1888. One puukko that he always kept on him during his expeditions. It is a very fine knife with a stainless steel blade that has a traditional straight razor edge. The handle knife is in beautifully oiled birch.
Cutting wood is much more than a DIY activity...
Using its puukkos to discover the potential of a wood fall by creating authentic objects, with simple shapes and that will accompany you in your daily life is a pure moment of happiness. Cutting wood is a real hobby for wood lovers, and an art of living for those who think that men and trees have a special relationship.
Sculpture & Wood
It's time to take time!
A good knife and a piece of wood: this is all you need to learn to sculpt the wood. Each log has a vast potential for objects of all kinds; Just know how to extract what does not belong to the imagined object.
Advice
How to manipulate your puukko and learn the right things
If creating a wooden spoon or a kuksa with its ten fingers is very rewarding, the danger of cutting during work is omnipresent. It is important to complete the work with all its attached members! More than ever it is better to prevent than to cure any injuries. That's why I'm offering you some tips that will help you significantly reduce the risk of an accident.
01 | Sharpen his knife
One might think that the sharper a knife is, the more dangerous it is, but it's just the opposite. A blunt knife forces to force on it, which increases the risk of ripering. In addition, a sharp knife causes clean and sharp wounds that are easier to heal. So think about taking with you the necessary sharpen in the field.
→ How sharpen tone puukko
02 | A suitable knife
A machete will give nothing for the size of the wood and a small bushcraft knife will not allow you to clear the briers. But also think about the strength of the knife. It would not be clever to force like a madman on a knife whose silk is not full. Similarly, a 2 mm thick blade is not strong enough for the heavier tasks. Each function has its knife.
→ How choose your first puukko
03 | Secure your surroundings
Even if one pays close attention to one's own fingers, an imprudent companion who approaches you at the wrong time can turn into a fountain of blood. In survival or bushcraft formations we talk about the blood bubble. It is a 360 degree area around itself, one or two arms long. When you are cutting, make sure no one is in this area. Children should know that they should not approach. If someone approaches, stop using your knife. Because even if you're very careful not to hurt yourself, if someone decides to approach at a time when you rip with your knife, these efforts will have been useless.
→ How to secure your puukko
04 | A firm grip
The hammer-like grip is the most suitable for bushcraft and woodworking. As when you use a hammer: the fist and fingers simply tightened around the handle. You hold your knife the same way for outdoor and bushcraft uses. You do not place the index finger or thumb on the back of the blade unless you use a specific size technique where necessary. By holding your knife in this way, the risk of ripping during the waist is minimized. Try to automate this base hammer grip. For some uses, you will use the reverse hammer grip. Exactly the same thing, but with the blade pointing up.
05 | Move your work, not your knife
When working wood, it is always best to move the wood instead of the knife. There are several grips and techniques to keep the knife almost still and move the work along the blade.
If this is the first time you've heard this advice, you'll certainly think it's exaggerated. But all survival instructors, with many years of experience will tell you, this is simply the best way to work wood. As soon as you start mastering it, you will understand that this gives you better control over the size. As you do not bring any movement to the knife, the risk of deviation is greatly reduced. The only possible error is to prolong the movement of the piece of wood more than desired. But we'd rather fly a little wood than a sharp knife.
06 | Choose an appropriate surface area
Always choose an area suitable for woodworking. A wooden surface fits perfectly, not your legs. Don't think: I put this board on my knees, I only have a little hole to drill. The little hole in question will turn into a big wound. It is also not recommended to use a knife on a concrete surface. As much for the knife as for the entourage that might make it fresh.
07 | Chest lever
This technique uses the strength of your torso. It is a very safe technique with which it is possible to eliminate a lot of material. You're holding your inverted hammer knife. You hold the cheek against your chest and the edge towards your elbow. Your arms are against your body, you place the piece of wood on the blade in front of your chest. By pulling your shoulders and elbows back, you make a waist movement in the wood. You use your back and chest muscles and can therefore engage a lot of strength in a controlled way. The worst thing that can happen is that the piece of wood goes too far. The knife remains almost still, so there is no risk on this side.
08 | Knee lever
So you cut with the strength of your knee. By placing the knife with the back in front of your knee, you can exercise great force by simply pulling the piece of wood. Here too, the only risk is that the wood will go too far. Always better than a flying knife.
09 | Scissor cup
To do this you hold the knife like a hammer with the side of your fist against your thigh. Your knife should now be pointed upwards. You hold the piece of wood in the other hand. Then you pull the piece of wood along the blade towards you. By changing the position and angle of the knife, you determine the amount of wood that will be eliminated, it happens in the sense. The name scissor cut comes from the knife angle that is adapted as with a wooden scissor. By applying this technique, we notice that it allows to control the cutting in a remarkable way.
10 | Notch
It is very convenient to be able to do notches in the wood to make tent pickets or to find a place to hang a tarpaulin with rope or paracord. For this, you approach your work near you. You hold the knife in one hand and hold the branch below the other hand on which you want to do a notch. Your hands work closely together, so pay attention to your fingers. Place the knife at the place where the notch must be made. Now you place your thumbs at the back of the blade so you can push the knife into the wood in a controlled manner. If possible, you push the knife a little diagonally into the wood to cut more than to push.
I mean, you have to make sense. If you start a task and feel something wrong then stop immediately. Use Murphy's law: if anything goes wrong, it will happen every time. Always have an emergency kit with you and learn how to put up a compressive bandage.
One puukko reflects your personality.
A knife has multiple functions. It can be a hiking companion, a tool to sculpt the wood, a precious heritage or a beautiful object displayed in a window.
15 VIDEOS
Jögge Sundqvist shows the various techniques needed to work wood safely.


